Yesterday I went to a local craft store to buy some felt. Along with desired felt I bought a cool glitter iron-on foil. It’s a foil to decorate textiles. You cut it in desired shape(s) and then iron it on a piece of fabric. I had to try it out today. That’s what I created …
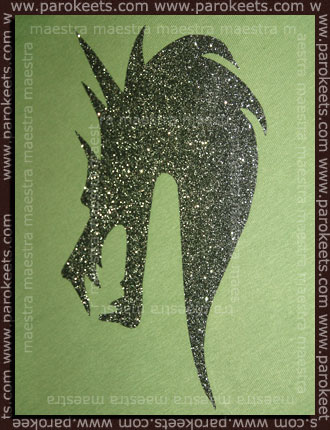
For all of you, who were wondering, how do the iron-on foils work, I made a tutorial for you.
What did I use?
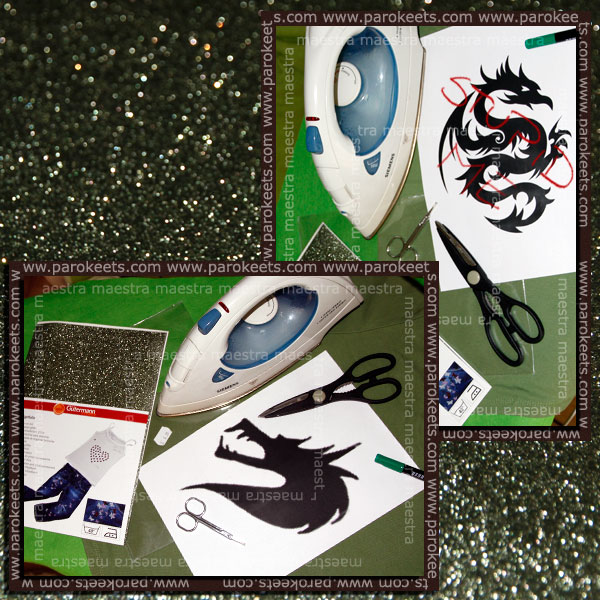
- Glitter Iron-on Foil – I used Gütermann – Bügelfolie (6,45€)
- stencil or design – I suggest an easy-to-cut-out design (left in the picture above), not some complicated and ornamented one (right in the image above)
- scissors
- pencil
- iron
- a piece of fabric
What do the instructions say?
For decorating fabric, card and metal etc. by ironing-on.
Step-by-step:
- Cut or punch out the design.
- Place the pattern on the object with its foil side facing up. Iron on setting 2 for max. 1 minute.
- Remove foil.
Caution: when using the hole punch remove the top foil before punching. This prevents the hole punch from sticking. Place the remains of the foil or backing paper over the glitter design and iron. It is then machine washable at up to 40°C. Please note: always wash fabrics first.
I decided for a dragon design, which I printed out on a piece of white paper. I cut out the design to make a stencil. 5 minutes of work.
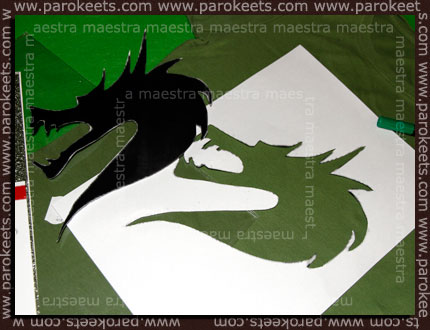
Using the stencil I drew the dragon on an iron-on foil, which took me 3 minutes of time.
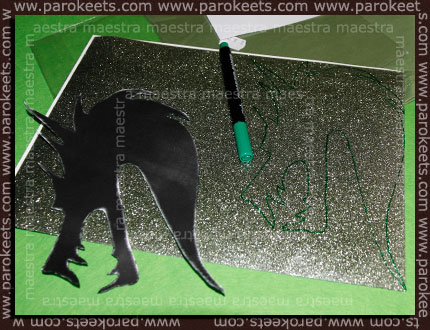
In the next 7 minutes I cut out the design from the glitter iron-on foil.
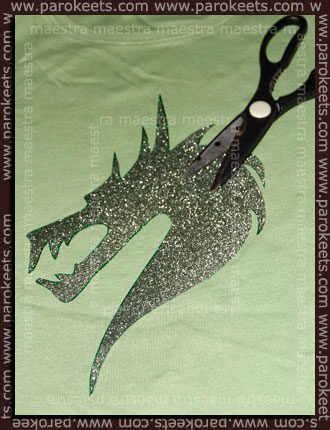
I put the dragon on the desired place on my T shirt. With the glitter part above I ironed for a minute or two, then I removed the transparent foil.
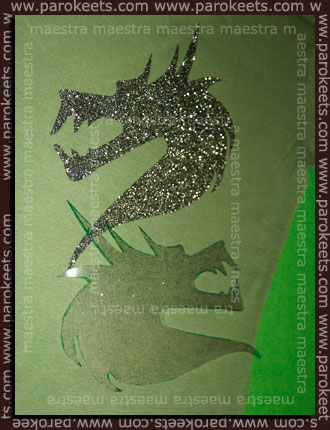
Voila …
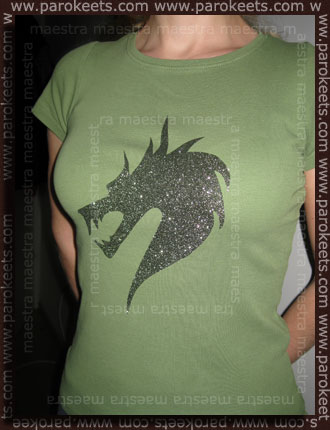
I’m very pleased with the end result and I’m pretty sure I’ll need new foils soon and more blank T shirts.
What do you think?
p.s. Parisky’s idea how to decorate a shirt. CLICK
